In this post we’ll show you how to link a promotion or a lead magnet to promote your assessment, and vice versa. That way you can amplify the effect of your client engagement efforts and boost engagement.
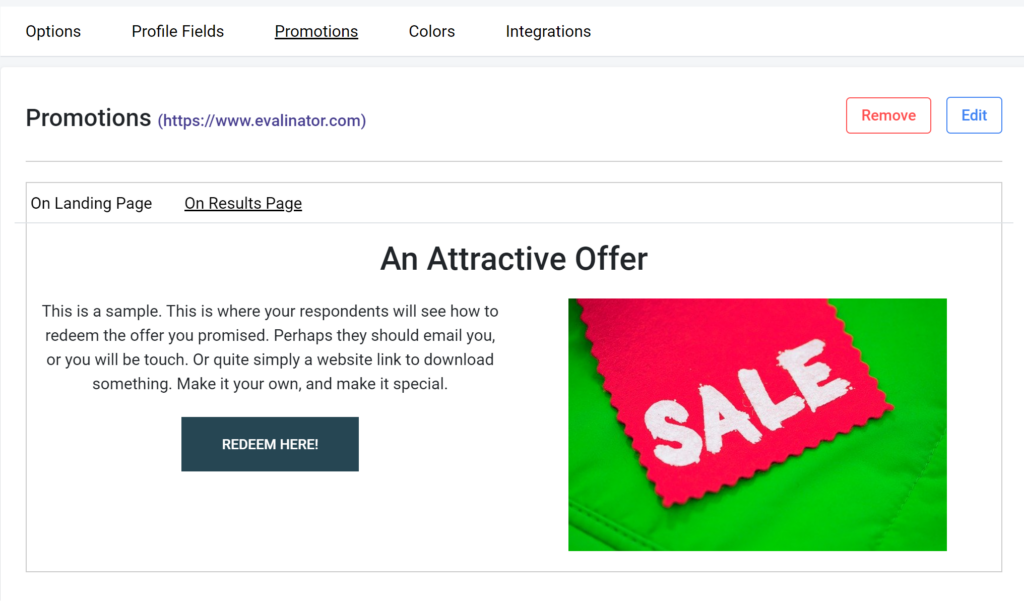
Here’s an example of how a promotion will look like on the start page of your assessment (take the assessment to see how it appears on the results page).
The term “lead magnet” comes from sales and marketing. It is essentially something that the clients find valuable enough that they are willing to exchange their contact details with you.
Your lead magnet could be a:
Your Evalinator assessment or quiz is also an excellent lead magnet by itself. It provides immediate value to the visitors coming to your website and appeals to the inquisitive side of of people’s emotions. It positions your expertise well and builds trust.
Adding a separate lead magnet (or offer or download) to your assessment does 2 things:
When you edit your Evalinator assessment, you’ll see a tab called “Promotions” under settings. From here you’ll be able to link your lead magnet and promote your assessment too.
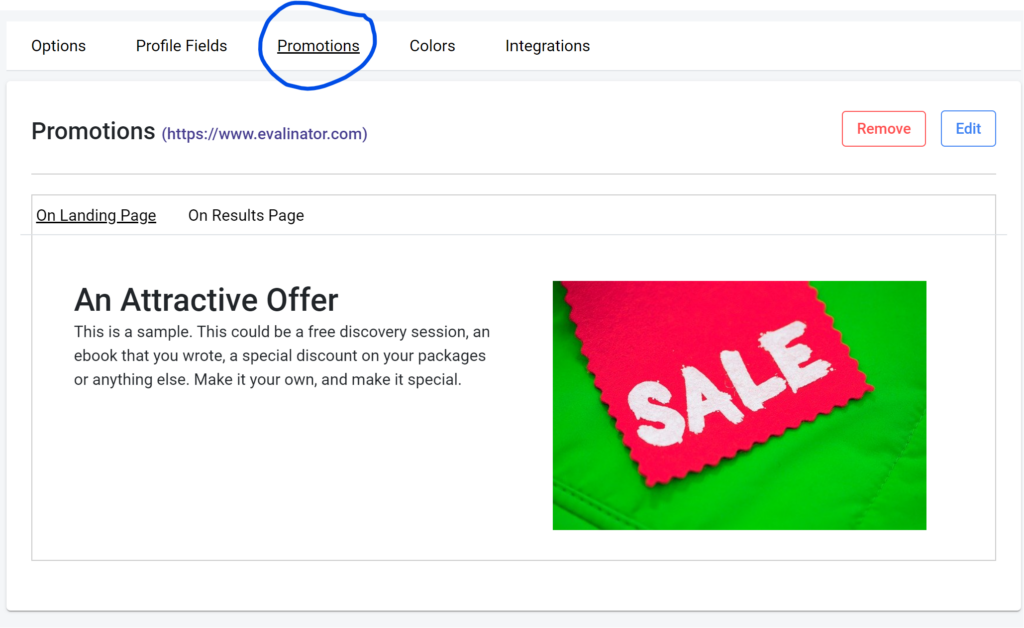
Here’s a sample of how this section will look on the results page of your Evalinator assessment. The customizable redeem button points to the online location where you have your checklist or course.
When you click “Edit” on your assessment or quiz, you will be brought to the screen where you can set up your incentive.
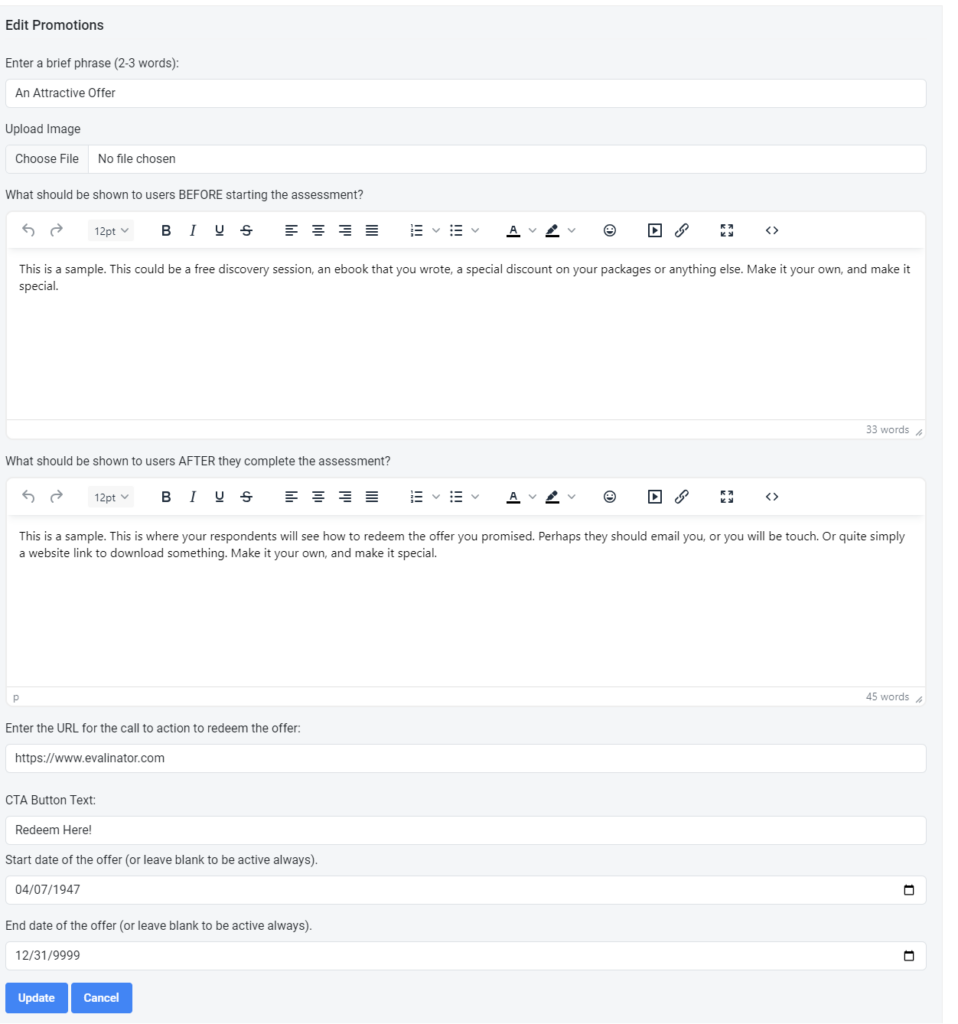
A promotion has 7 basic components.
Once you have set up the promotion, there’s just one more thing to do. Go to the options in your Start Page tab and enable the option to “Show Promotions”. Here’s how it looks:
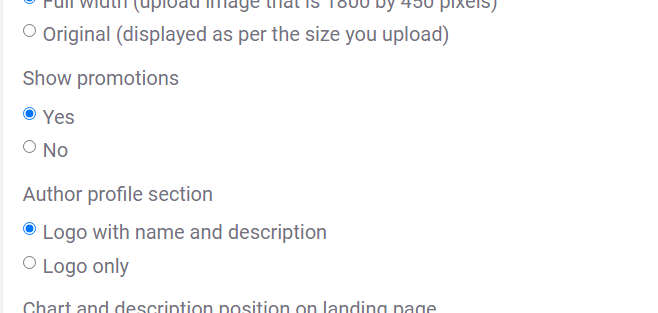
That’s it. Click “Publish” and you are all set to promote your assessment.
If you have any questions, just let us know. We’ll add more variations and options to this feature so stay tuned.
Whether it’s a Wheel of Life, or a Scored Assessment, a promotion works in all cases to promote your assessment. And of course it works for most audiences too. Here’s an example of how it will look like. on the start page (take the assessment to see how it appears on the results page).
After all, who doesn’t want something of value from an expert? (hint: that’s you!).
Enjoy!
PS: If you want to create a lead generation funnel for your business or increase the life-time value of your relationships, then see our plans and sign up for a 14 day free trial.
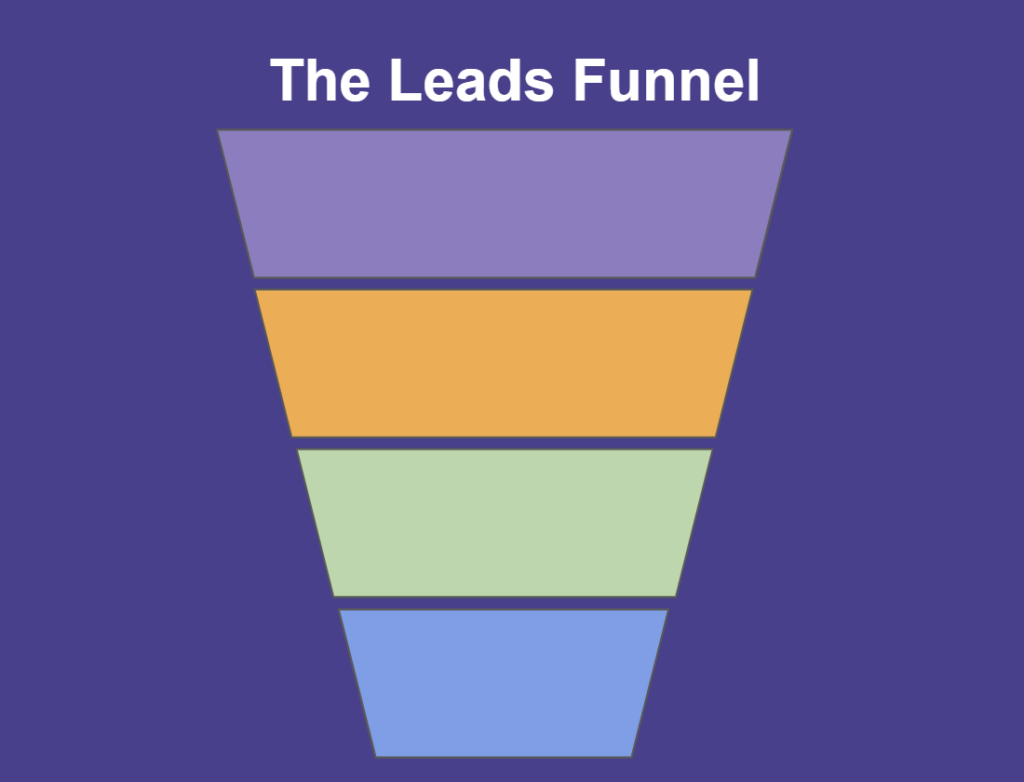
Feeling frustrated with lead generation?
Take this free, 5-minute quiz and get more prospects into your leads funnel.
Instant Results. Actionable recommendations. Email required.
Find Your Score >>